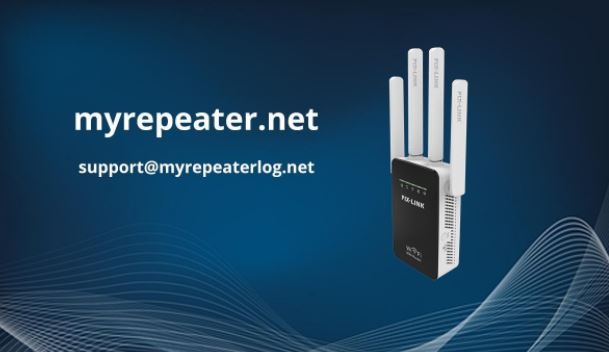
I am a teacher and I also have an institute. I provide coaching to the students in it. But some students come from far away and I cannot give them more time. Due to this, they have a lot of distributions in their studies and they have a lot of lectures missed. So, I thought of providing an online lecture. I need the internet to give an online lecture. I am using the smartphone?s net. But nowadays all the work is online so my net speed has reduced very much. This is causing a lot of problems. So, someone suggests you set up a repeater in your house. Then, I bought the repeater and set it up. A repeater is an electronic device and it easily connects the computer, laptop, phone, or tablet. Its main purpose is to extend the wi-fi speed in the whole house. It includes many features and performs very well. The repeater is many types such as a wired and wire-free repeater, analog and digital repeater, local and remote repeater. I set up the repeater in my house and got many benefits. Repeater setup is effortless and very quick. In this article, I tell the complete process of repeater setup.
Setup the Repeater via the WPS button
I will tell you what the WPS button is. Wi-Fi Protected Setup (WPS) is a component provided with numerous routers. It is intended to make the way toward interfacing with a safe wireless network from a PC or other device simpler. At first, myrepeater setup so you can attach your Range Extender into an electrical plug close to your Router. Press the WPS button on your Router first, at that point promptly press the WPS button on your repeater. The WPS process will last 2 minutes. You can wait 2 minutes, and then check the wireless signal LED of your repeater. If it?s on then your wi-fi repeater has been successfully connected to your main Router. Following 2 minutes, if the wireless signal LED of your repeater is still off, it implies the WPS process comes up short. You may have to attempt one more or a few additional seasons of WPS activity and you can read out these things which I have told you about. Finally, you put the repeater in the appropriate place where you need to increase the Wi-Fi coverage and enjoy the repeater speed.
Set up the Repeater without the WPS button
If you don?t have the WPS button on your router. So, we are using the web browser to set up the repeater. First, check the device in which we will open the web browser, whether it is running the internet or not. If not run the internet then you can check the internet. When you set up the repeater with a web browser, you can attach the repeater to the PC. If you are using the ethernet cable to connect the repeater. Then, plug the device into the power outlet and turn on the device. After connecting the device, you can open the web browser and click the search bar and fill in the http //myrepeater.net, and press enter. Then, the login screen will be displayed. The screen asks for the username ID and secret password. You fill in the username id and password in their column. Then click the login button. Now, unlock the wizard and click the Start button. After that, many instructions have shown you can follow these instructions and press the finish button. The final repeater setup is successfully complete.?
Login/sign-in my repeater
If you want myrepeater.net login, so you can open the internet explore and enter the IP address of your router in the search bar and click the enter. After that, the screen appears and asks the first time to log in. When you are log in the first time then you click the sign-in button. Create the account and fill in the username id, password. DOB, country, and more information. If you want to log in again, you will have to fill in the previous username and password. Now, the myrepeater login is complete.
I will tell you my repeater device is very good and performs very well. It solves many problems and includes many functions. The repeater setup and login are effortless. You can also buy the device and use it.