


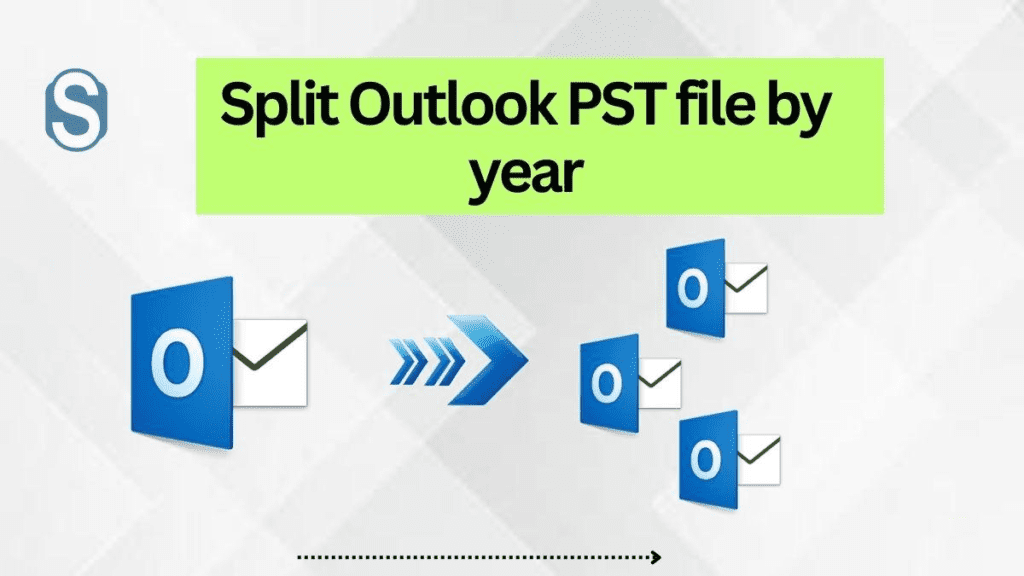
Are you facing issues due to a large-sized PST file and now looking for a solution to split it? If your answer is yes, then this is the correct page for you. Here, we will provide users with solutions to split Outlook PST file by year-wise. We all know that having a large-sized PST file can slow down the working of the Outlook email client. Moreover, it always has a high risk of data corruption.
The new versions of the Outlook program allow users to create a PST file of size 50 GB; more than 50 GB becomes risky for the users. Therefore, if you are also facing such issues with your PST file, on this page, we will share the solutions to fix this issue.
Advantages of splitting the Outlook PST file
- If you split PST files into smaller parts, it will help to improve the performance of MS Outlook.
- The task of sharing PST files becomes easy with the small-sized PST file.
- Large-sized PST files are sometimes complicated for users to access, so splitting them into smaller parts will be easier for the users to access.
- Having small PST files is easy to manage for the users as compared to large ones.
So, these are the benefits to split Outlook PST file by year in Outlook. Apart from this, there are more reasons why users must search for a splitter solution, which can be different for each user.
What are the methods to convert large PST files into tiny ones?
For this splitting process, users can move with the manual or a professional PST Splitter Software. To proceed with this task, users must require an Outlook email client in their system. Then, they have to follow a few steps to complete this splitting process. Let us begin the procedure to split the large-sized PST file into multiple ones with the help of the manual methods.
Manual ways to break a PST file into smaller ones
By choosing the manual methods, users can go with this task with the help of three manual methods. In all the methods, it is recommended for all the users that they must have the Outlook application in their system. Below, we have shared one by one all the methods that users can use to split Outlook PST file by year-wise.
Method 1: Use the Outlook Archive option to reduce the size of the PST file
Step1: Run your MS Outlook email client in your system.
Step2: Choose the File menu and then Archive in Outlook 2007 and the below versions.
Step3: Select the File tab, choose File, Info, Clean Up tools and then, Archive in Outlook 2010/2013.
Step4: Go to File, Info, Tools and then Mailbox Cleanup in Outlook 2016/2019.
Step5: Now, choose the Archive this folder and all subfolders option and select the folder that you want to proceed with.
Step6: Provide the date in the Archive items older than option.
Step7: Tick the Include items with the “Do not Auto Archive” check box.
Step8: Tap Browse and provide the name and location for the desired file.
Step 9: At last, click on the Ok button.
Method 2: Manage Large-sized PST files in Outlook using Import/Export wizard
Step1: Choose the File menu after opening the Outlook program.
Step2: Thereafter, go to Account settings.
Step3: On the Account settings page, select the Add from the Data file option.
Step4: Provide the File name and choose the file type as Outlook data file (.pst).
Step5: Afterwards, click on Ok.
Step6: The new PST file will be created that you can view under the Data files.
Step7: Now, again, go to the File tab and choose the Open & Export option.
Step8: Later on, select the Import/Export option.
Step 9: Select the option Export to a file and hit Next.
Step10: Choose the Outlook data file (.pst) option.
Step11: Pick the desired folder to export and also check the Include subfolders option.
Step 12: Press the Browse button to save where you want to save the exported file.
Step 13: Tap the Do not export duplicates items and click the Finish button.
Method 3: Split Outlook .pst using Outlook move to folder option
Go with the below shared steps to split Outlook PST file by year wise using the Outlook move to folder option.
Step1: Tap on the File tab and Account settings.
Step2: Hit the Data files and click the Add button.
Step3: Move to the Home screen, choose your default PST file and select the items that you want to transfer.
Step4: Press the Move button and choose the Copy to Folder option.
Step5: Select the PST file from the Copy the Selected items to the folder option and hit Ok.
With these manual methods, you can split Outlook PST file by year wise basis. However, these methods are not easy for all users as they have lengthy steps. Moreover, it takes a longer time to process this splitting task. Users without proper technical knowledge may struggle to split the PST file using manual methods. To eliminate the difficulties of these manual ways, users can go for professional software. For detailed information about its features and working, users must read the below paragraph that will deliver highlighted features of this software.
The easiest way to split large-sized Outlook PST files
Shoviv is offering a reliable way that all users can easily use to split their large-sized PST files. Shoviv PST Splitter Software has provided a lot of features to easier the whole process of splitting. Users can include of any size PST file as this software works without any size limitations.
- No hierarchy of the folder and data integrity will harm in this software even after splitting PST file into multiple ones.
- This tool offers a simple user interface so that users can easily split Outlook PST file by year, by date, by size and by folder.
- It works without any difficulty with both kinds of PST files, such as ANSI or Unicode PST file types.
- The process of selecting the PST file is very simple; even a new user also understands it without having any issues.
- Users do not need of any kind of technical expertise to split PST files into smaller parts.
- It is compatible with all the versions of MS Outlook email client like 2019, 2016, 2013, 2010, etc.
To understand how it works, go to the next paragraph and understand the whole process to split .pst.
Shoviv Third-party Tool’s working on splitting the big-size PST file
Step1: Install and run the Shoviv PST Splitter Software.
Step2: Select the PST file that you want to split.
Step3: Then click on Next.
Step4: Select or deselect the subfolders list and choose the By year option to split Outlook PST file by year wise. Click the Next button.
Step5: Here, it will start the splitting process.
Step6: At last, press the Finish button after completing the task.
Conclusion
At the end of this content, we conclude that the Shoviv third-party automation is the best and most secure way to split Outlook PST file by year wise. Users will also go through the official website of Shoviv to explore the features of the Shoviv professional tool. This tool enables users to split the first 50 items of each folder of the PST file freely.

As the editor of the blog, She curate insightful content that sparks curiosity and fosters learning. With a passion for storytelling and a keen eye for detail, she strive to bring diverse perspectives and engaging narratives to readers, ensuring every piece informs, inspires, and enriches.


