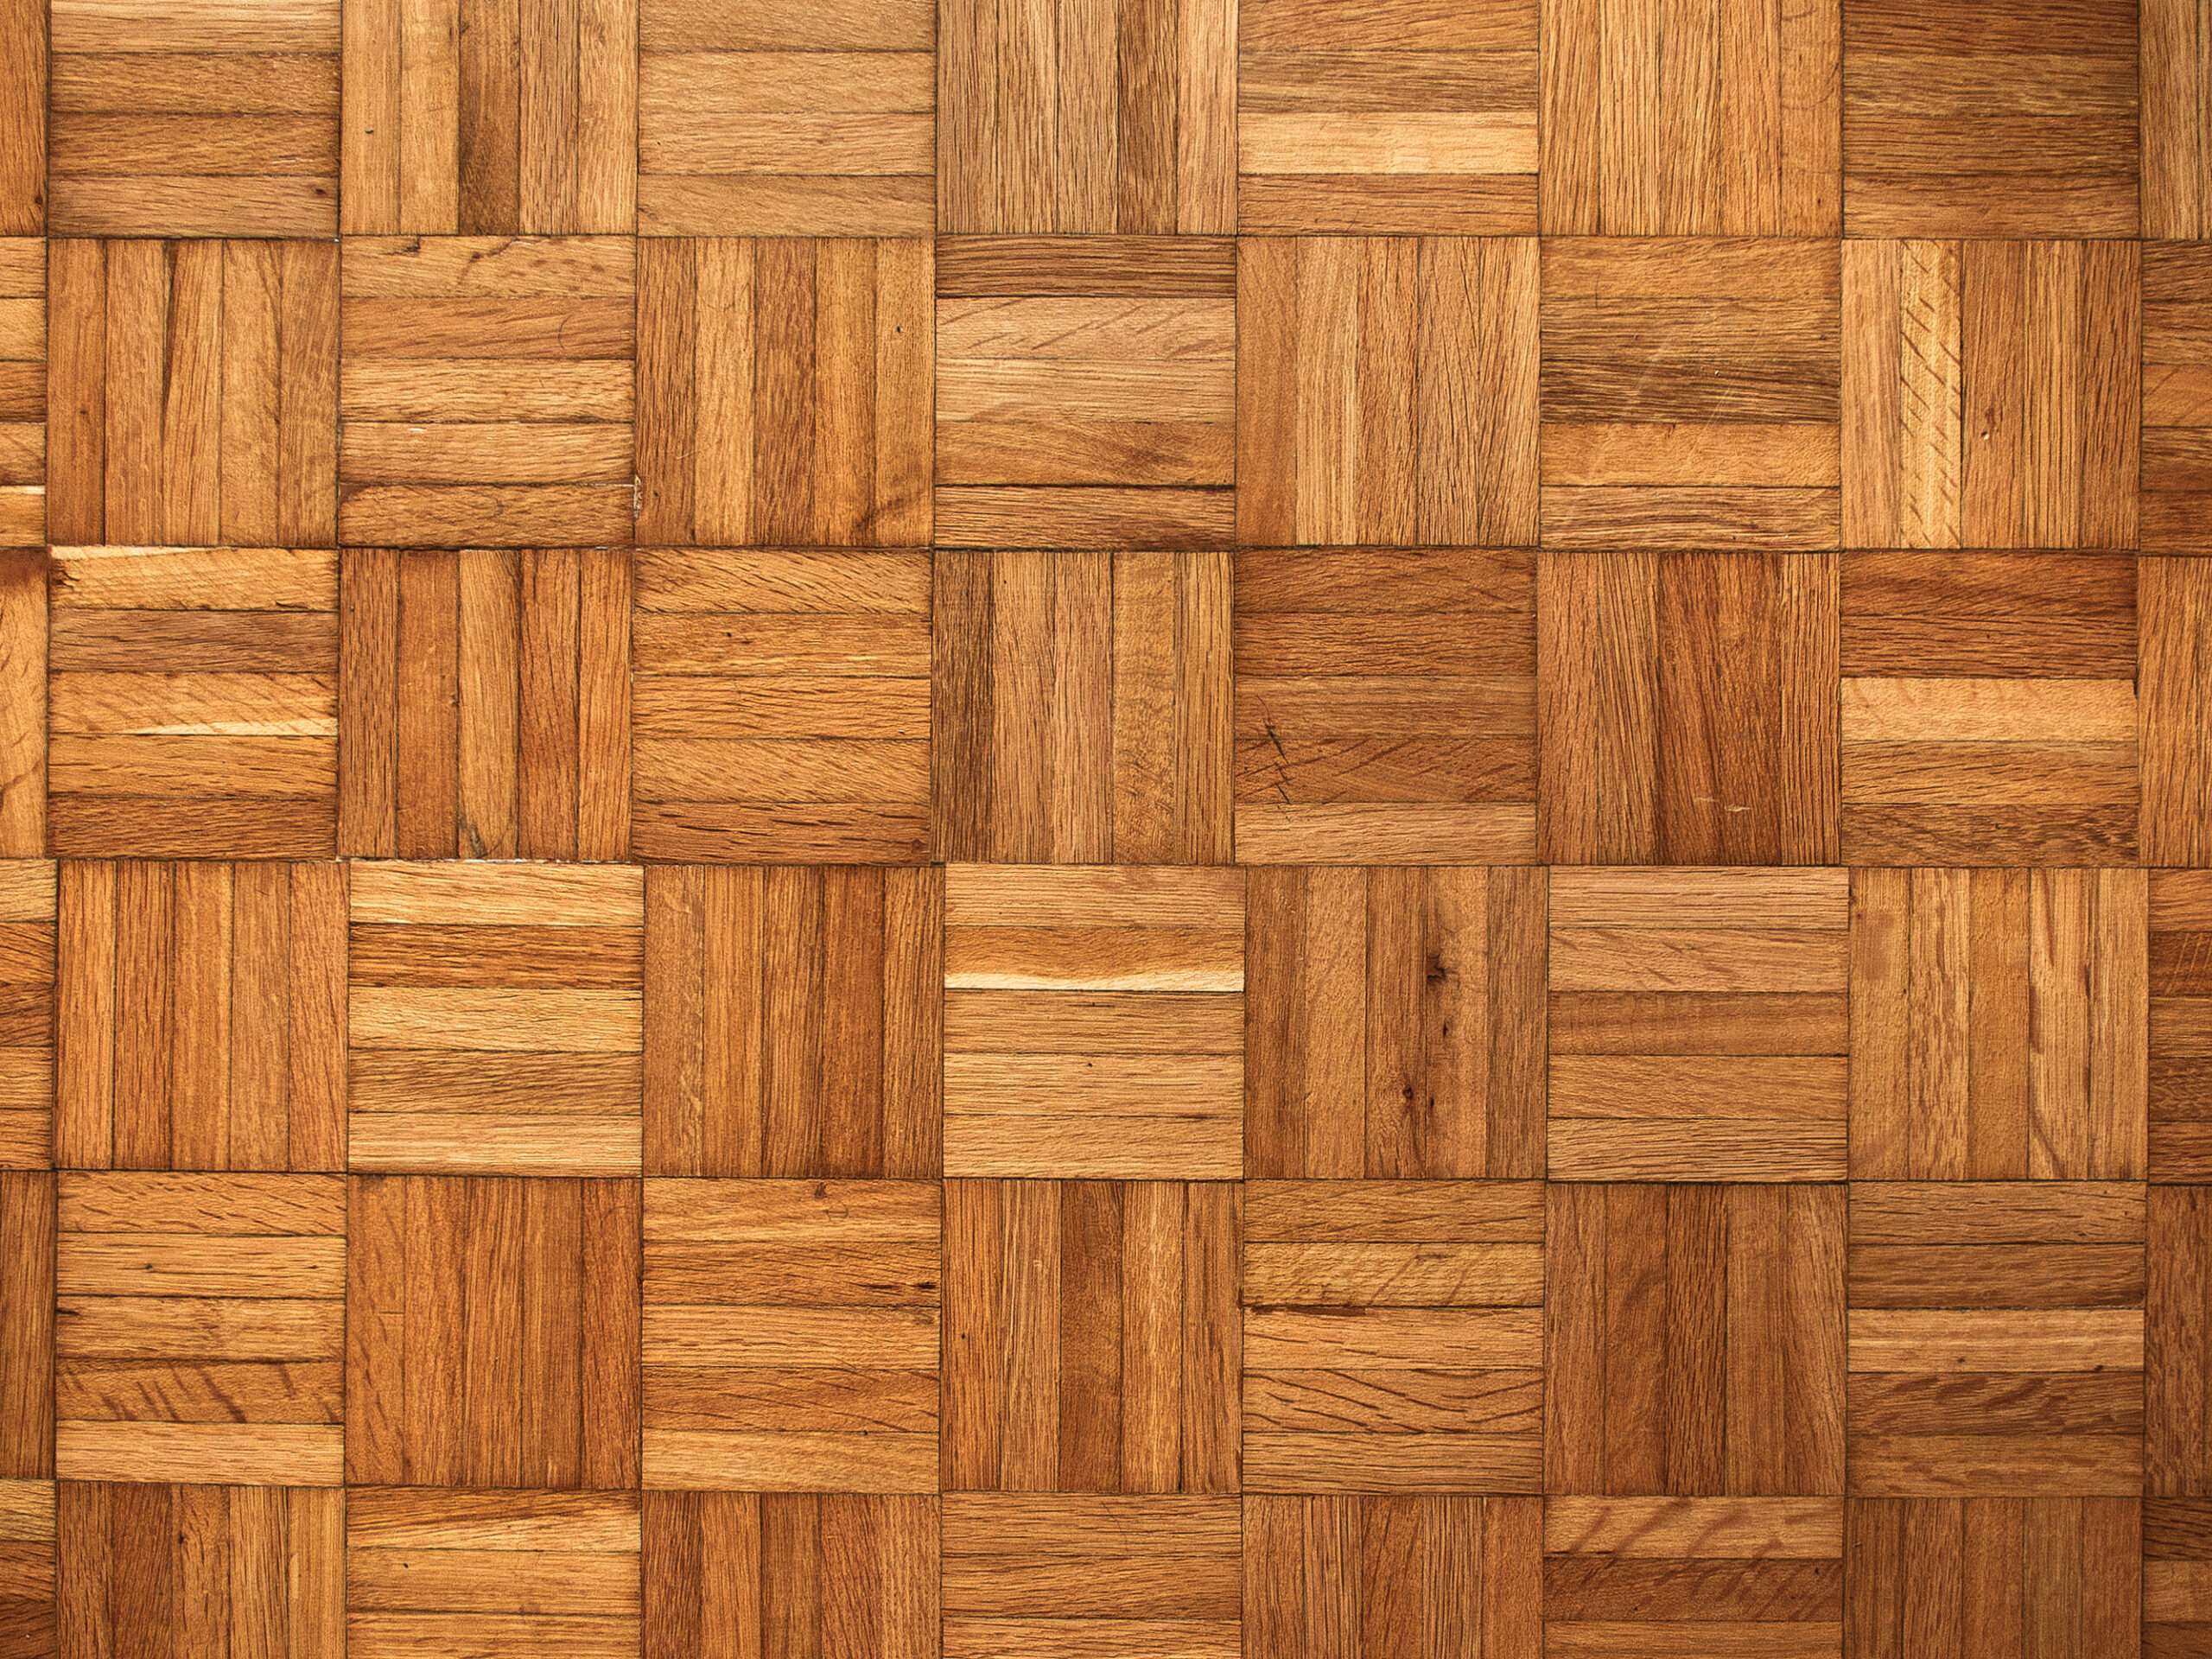
Wooden flooring, whether it’s classic hardwood or intricate parquet, can add warmth and character to any home. However, over time, these beautiful floors can experience wear and tear, resulting in damaged floorboards that need attention. The good news is that with the right tools and know-how, you can repair and replace damaged wooden floorboards like a pro, restoring the beauty of your flooring. In this guide, we’ll walk you through the steps to tackle this DIY project effectively.
Assessing the Damage
Before you dive into repairing or replacing wooden floorboards, it’s crucial to assess the extent of the damage. Inspect your floor carefully, looking for signs of:
Cracks and Splits: Check for visible cracks or splits in the wood. These can weaken the floor and pose a tripping hazard.
Warping or Cupping: Warped or cupped floorboards may indicate moisture damage or improper installation.
Gaps and Loose Boards: Identify any gaps between the boards or boards that feel loose underfoot.
Rot or Decay: Look for signs of rot or decay, which can compromise the structural integrity of the floor.
Once you’ve identified the problem areas, you can proceed with the appropriate repair or replacement method.
Materials and Tools You’ll Need
To repair or replace damaged wooden floorboards, gather the following materials and tools:
Replacement Floorboards: Ensure they match the species and finish of your existing floor.
Circular Saw or Jigsaw: To cut and remove damaged sections.
Chisel and Hammer: For prying out damaged boards.
Nails or Screws: To secure new floorboards in place.
Wood Filler: For filling gaps and cracks.
Sanding Tools: To smooth out rough edges and prepare the surface for finishing.
Wood Stain and Finish: To match the repaired area to the rest of the floor.
Safety Gear: Including goggles, ear protection, and a dust mask.
Repairing Cracks and Splits
If you’ve identified cracks or splits in your wooden floorboards, follow these steps to repair them:
Clean the Area: Remove any debris or dirt from the crack or split using a vacuum or broom.
Fill with Wood Filler: Apply wood filler to the damaged area, ensuring it fills the gap completely. Smooth it with a putty knife.
Sand and Finish: Once the filler is dry, sand the area until it’s smooth and level with the surrounding floor. Finish with wood stain and a protective finish coat.
Replacing Severely Damaged Boards
For boards that are beyond repair, replacing them is the best option:
Identify the Damaged Board: Locate the damaged floorboard and mark it for removal.
Cut the Damaged Board: Use a circular saw or jigsaw to cut along the edges of the damaged board, creating a rectangular section to remove.
Remove the Damaged Section: Carefully chisel along the cut lines to remove the damaged section. Be cautious not to damage neighboring boards.
Prepare the Replacement Board: Measure and cut a replacement board to fit the opening precisely.
Secure the New Board: Apply adhesive to the edges of the replacement board and slide it into place. Use nails or screws to secure it to the subfloor and surrounding boards.
Fill and Finish: Fill any gaps or seams with wood filler, sand the area smooth, and finish with matching stain and protective finish.
Dealing with Warped or Cupped Floorboards
Warped or cupped floorboards often result from moisture issues. To address this:
Address the Moisture Source: Identify and resolve the source of moisture, whether it’s a leak or excessive humidity.
Allow for Drying: Once the moisture issue is resolved, allow the floorboards to naturally dry out and regain their shape. This may take several weeks.
Sanding and Refinishing: After the boards have dried and flattened, sand the floor to ensure an even surface. Finish with wood stain and protective coating.
Closing Gaps and Loose Boards
If you have gaps between boards or boards that feel loose, follow these steps:
Tighten Loose Boards: Carefully lift the loose board and apply adhesive to the subfloor. Press the board back into place and secure it with screws or nails.
Fill Gaps: For small gaps between boards, use wood filler to fill them in. Sand the area smooth and finish with matching stain and protective finish.
By following these steps, you can repair and replace damaged wooden floorboards, whether it’s classic hardwood or intricate parquet, with confidence and skill. Regular maintenance and prompt repairs will help your wooden flooring retain its beauty and durability for years to come. Remember to wear appropriate safety gear and take your time to ensure a professional-looking result that enhances the aesthetics and comfort of your home.