One of the most intriguing things about knitting is its ability to connect generations. From grandmothers passing down their knitting techniques to their granddaughters to friends gathering for a cozy knitting night, this craft has brought people together for centuries.
It’s not just about creating beautifully handmade pieces but also about the community and camaraderie that come with them. And with the rise of online knitting communities, it’s easier than ever to connect with fellow knitters worldwide.
So whether you’re looking for a solo hobby or a way to bond with others, knitting is a wonderful choice. With our step-by-step guide, you’ll be well on your way to creating your own knitted treasures and joining the knitting community in no time.
Materials
Before you begin knitting, you’ll need to gather knitting tools and accessories. Here’s what you’ll need:
- Yarn: Yarn comes in all different colors, textures, and weights. For beginners, it’s best to choose a medium-weight yarn in a light color so that you can see your stitches easily.
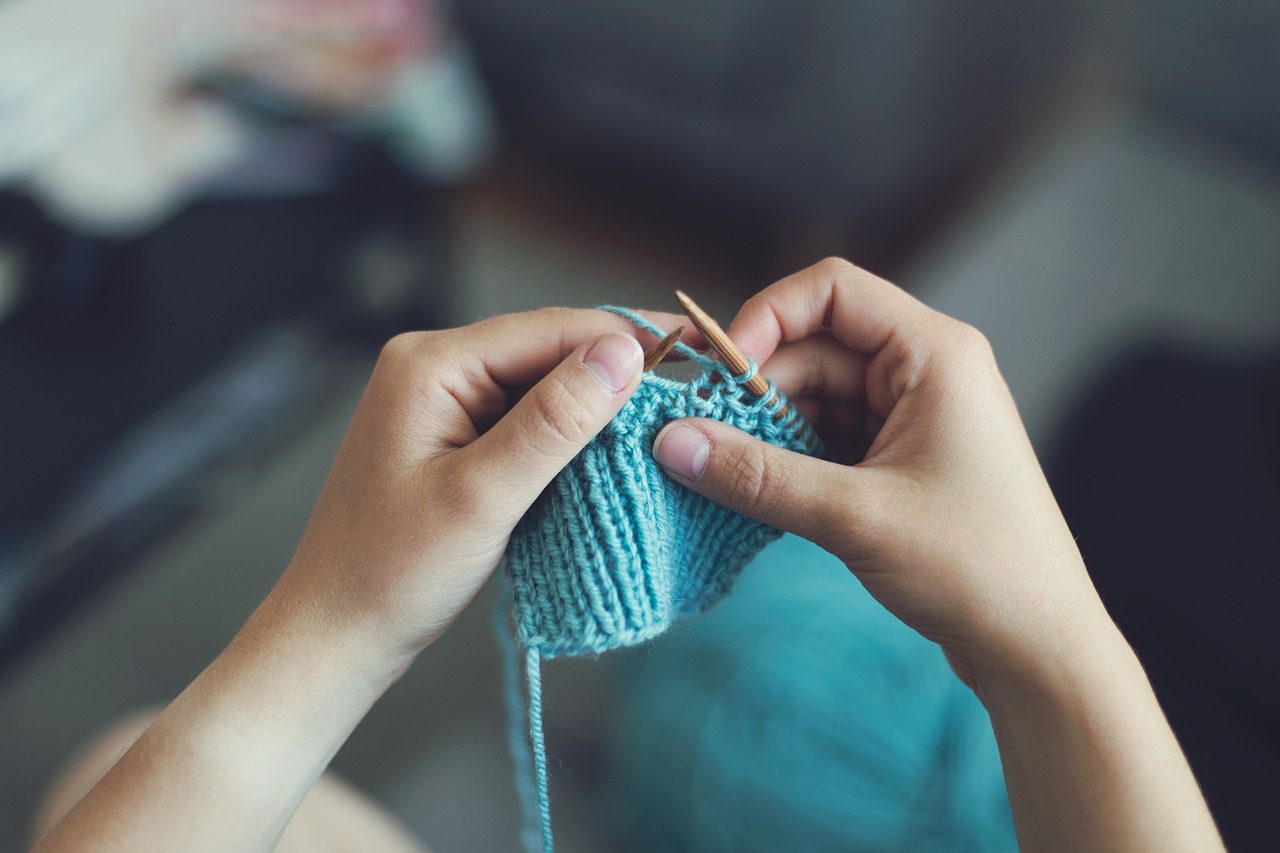
- Needles: Knitting needles come in different sizes and materials. For beginners, we recommend using medium-sized needles made of wood or bamboo. Metal needles can be slippery, which can make it difficult for beginners to control their stitches.
- Scissors: You’ll need a pair of scissors to cut your yarn.
- Tapestry needle: A tapestry needle is a blunt-tipped needle used for sewing in ends and seaming pieces together.
- Stitch markers (optional): Stitch markers are helpful for marking off sections of your work or counting stitches.
Casting on
The first step in knitting is casting on, which creates the foundation row of your project. Here’s how to cast on:
- Tie a slip knot: Start by making a slip knot on your needle. To do this, make a loop with your yarn and insert the needle through the loop.
- Create a foundation row: Hold the needle with the slip knot in your left hand and the other in your right. Wrap the yarn with your right hand around the back needle, then bring it between the needles and up to the front. Hold the yarn in place with your left thumb and use the right needle to catch the loop of yarn, and bring it through the loop on the left needle. This creates a new stitch on the right needle.
- Repeat: Continue to create new stitches by repeating step 2 until you have the desired number of stitches on your needle.
The knit stitch
Once you have your foundation row, you’re ready to start knitting! The most basic stitch in knitting is the knit stitch, which creates a smooth, flat fabric. Here’s how to knit:
- Hold the needle with the stitches in your left hand and the empty needle in your right hand.
- Insert the right needle into the first stitch on the left needle, from front to back.
- Wrap the yarn around the right needle, from back to front.
- Use the right needle to pull the yarn through the stitch on the left needle.
- Slip the old stitch off the left needle and onto the right needle.
- Repeat: Continue to knit across the row until you reach the end.
The purl stitch
The purl stitch is another basic stitch in knitting, and it creates a bumpy texture. Here’s how to purl:
- Hold the needle with the stitches in your left hand and the empty needle in your right hand.
- Insert the right needle into the first stitch on the left needle, from back to front.
- Wrap the yarn around the right needle, from front to back.
- Use the right needle to pull the yarn through the stitch on the left needle.
- Slip the old stitch off the left needle and onto the right needle.
- Repeat: Continue to purl across the row until you reach the end.
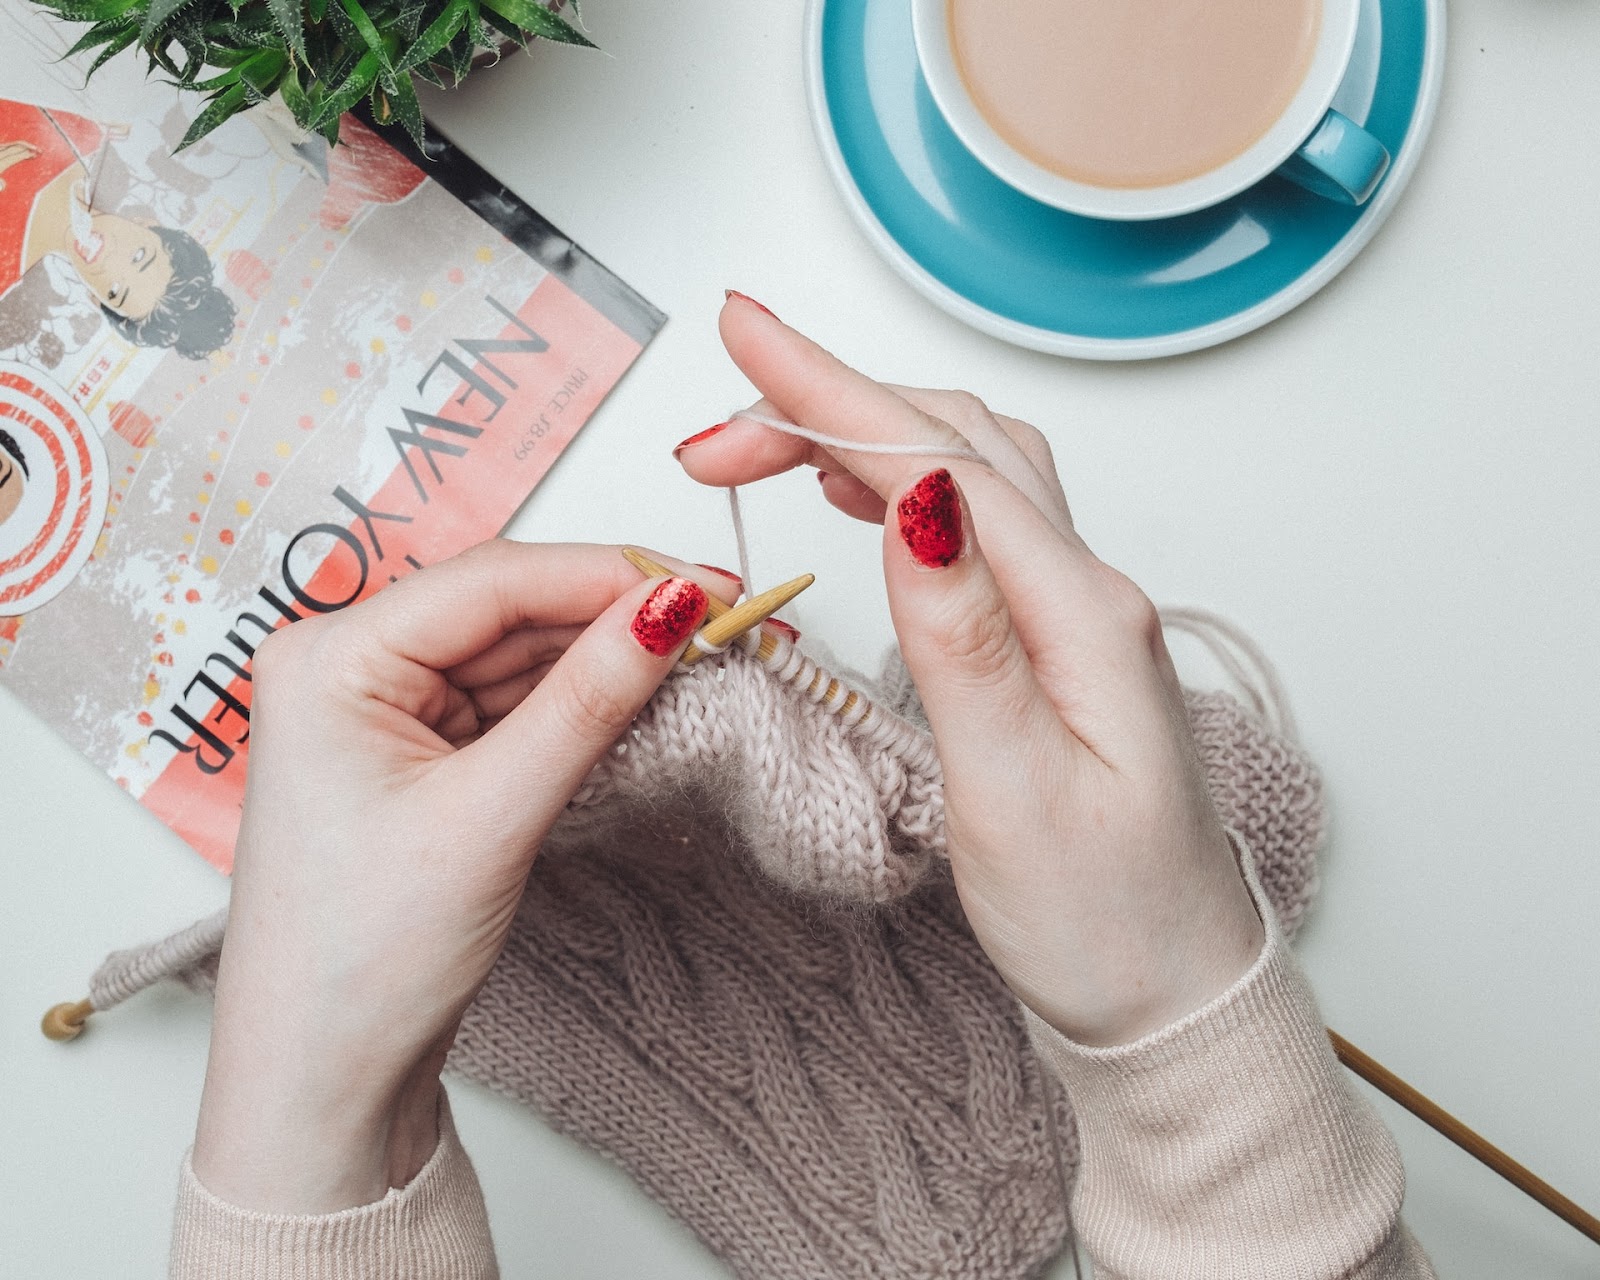
Photo by Rebecca Grant on Unsplash
The rib stitch
The rib stitch is a pattern that alternates between knit and purl stitches. This stitch is commonly used for edgings, cuffs, and collars on sweaters and hats. Here’s how to knit the rib stitch:
- Cast on an even number of stitches.
- Knit the first stitch.
- Purl the next stitch.
- Repeat: Continue to knit one stitch and purl one stitch across the row until you reach the end.
- Repeat: Continue to alternate knitting and purling across each row to create the rib stitch pattern.
Binding off
When you’re finished knitting your project, you’ll need to bind off to secure the stitches and prevent them from unraveling. Here’s how to bind off:
- Knit two stitches.
- Use the left needle to lift the first stitch over the second stitch and off the right needle.
- Knit one stitch.
- Lift the first stitch over the second stitch and off the right needle.
- Repeat: Continue to knit one stitch and lift the first stitch over the second stitch until you have one stitch remaining on the right needle.
- Cut the yarn and pull it through the final stitch.
Finishing
Once you’ve bound off, you’ll need to weave in the ends of your yarn to finish your project. Here’s how to weave in ends:
- Thread the tapestry needle with the end of the yarn.
- Insert the needle under several stitches on the wrong side of your work.
- Pull the yarn through the stitches.
- Cut the excess yarn.
- Repeat: Repeat on the other end of your work.
Tips for beginners
- Take your time: Knitting can be frustrating at first, but it’s important to take your time and not rush through the process.
- Practice, practice, practice: The more you practice, the better you’ll become at knitting. Don’t be afraid to start with a simple project and work your way up.
- Count your stitches: It’s important to count your stitches regularly to make sure you’re staying on track.
- Keep your tension even: Try to keep your tension even throughout your project. If your tension is too loose or too tight, your stitches won’t look uniform.
- Don’t be afraid to make mistakes: Everyone makes mistakes when they’re learning to knit. Don’t be discouraged if you have to unravel your work and start over.
In conclusion
In conclusion, knitting is a versatile and rewarding craft that offers a multitude of benefits, from relaxation and stress relief to creativity and connection with others. The possibilities for what you can create with knitting are endless, from cozy blankets and scarves to intricate lacework and sweaters.
With a little patience and practice, anyone can learn to knit and enjoy the many rewards this craft has to offer. And who knows, you may even discover a hidden talent for design or a love for yarn dyeing.
So grab your knitting needles and start creating, whether you’re on your own or sharing the joy with a knitting community. The possibilities are endless, and the rewards are countless.