Whether you’re a homeowner looking to revitalize your living space or a DIY enthusiast eager to take on a new project, this comprehensive guide is tailored to help you achieve professional-quality results when Expert in floor sanding in Melbourne your floors.
In this beginner’s guide, we’ll walk you through the essential steps, tools, and techniques needed to transform your floors into stunning masterpieces.
Section 1: Understanding Your Floor
Identifying the type of flooring material is the first crucial step in the Expert in floor sanding Melbourne. Whether you have hardwood, engineered wood, or laminate flooring, understanding the unique characteristics of your floor is essential for determining the appropriate sanding and polishing techniques. Assessing the condition of your floor will further guide you in planning the level of restoration required. From scratches and dents to wear and tear, recognizing the state of your floor will help you set realistic expectations and choose the right approach for restoration.
Beyond material identification, it is equally crucial to assess the current condition of your flooring. This assessment acts as a compass, guiding you through the restoration process. From minor scratches and dents to more extensive wear and tear, understanding the prevailing condition of your floor enables you to set realistic expectations and formulate a tailored restoration plan.
The detailed evaluation of your floor’s condition empowers you to address specific issues effectively. For instance, if your hardwood floor exhibits noticeable scratches, the sanding process can be adjusted to focus on those particular areas. Similarly, if there are deeper dents or worn-out sections, a targeted approach can be employed to ensure a comprehensive restoration.
Moreover, this assessment aids in determining the level of restoration required. Some floors may need a lighter touch-up to revive their natural luster, while others may necessitate a more intensive restoration to address significant damages. By conducting a thorough evaluation, you gain valuable insights into the extent of the work ahead, allowing for better planning and resource allocation.
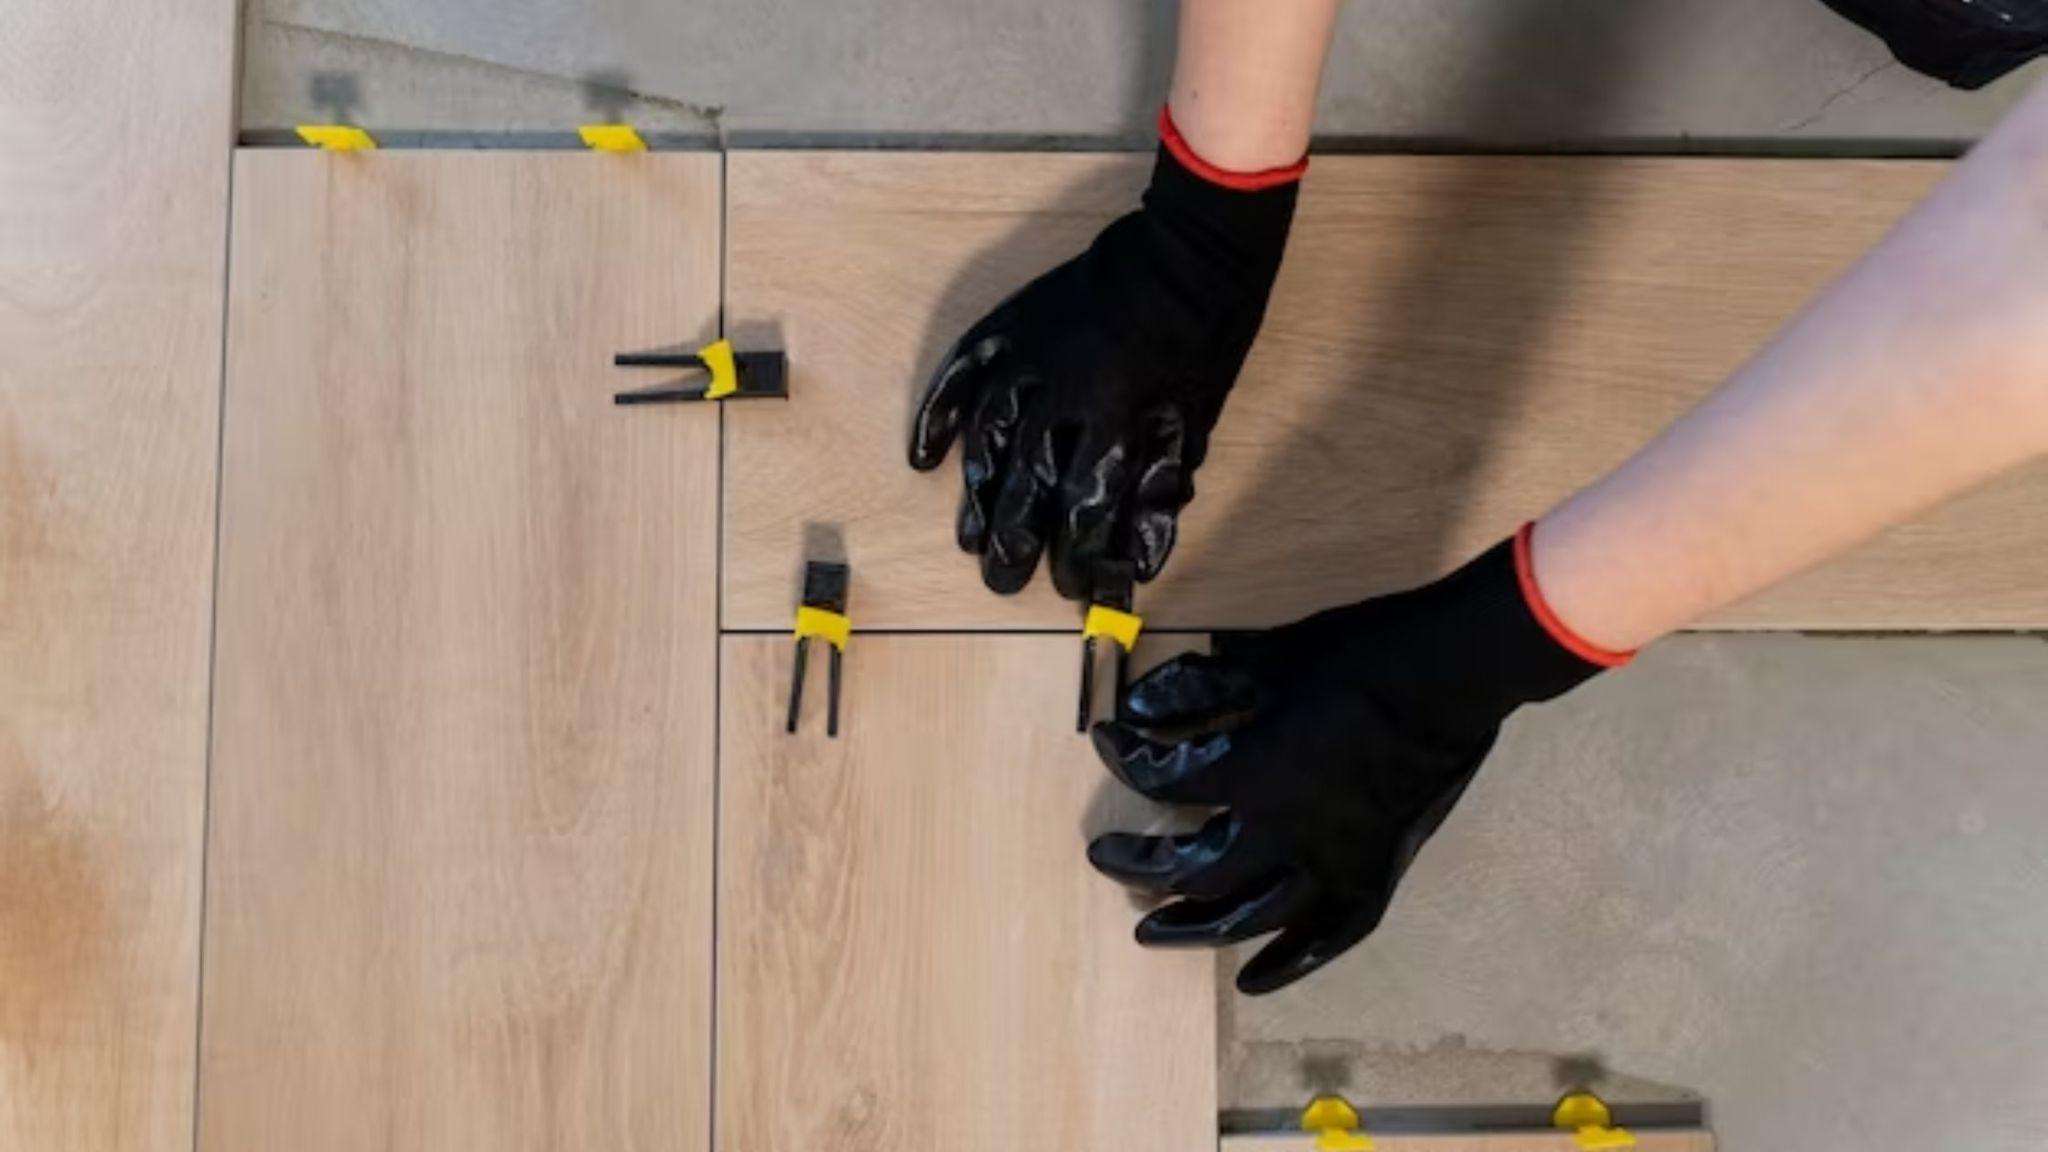
Section 2: Essential Tools and Materials
Before diving into the sanding and polishing process, it’s important to familiarize yourself with the essential tools and materials required for the job. From drum sanders and edgers to polishers and applicators, each tool plays a crucial role in achieving a flawless finish. Understanding the purpose of each tool and its specific function in the sanding and polishing process is key to ensuring a smooth and efficient workflow. Additionally, selecting the right materials, such as sandpaper, abrasives, and polishing compounds, is essential for achieving professional-quality results.
Section 3: Preparing for Sanding
Effective pre-sanding preparations are vital for setting the stage for a successful sanding and polishing project. Clearing the room of furniture and belongings, as well as protecting surrounding areas from dust and debris, will create a conducive environment for the restoration process. Moreover, adhering to safety precautions and recommendations for protective gear is paramount to ensure a safe and healthy working environment for you and anyone else involved in the project.
One of the primary tasks in pre-sanding preparations is clearing the room of furniture and belongings. This step not only facilitates unrestricted access to the entire floor but also minimizes the risk of damage to items during the sanding and polishing procedures. A clear workspace allows for efficient movement and application of the necessary techniques for achieving a flawless finish.
Simultaneously, protecting surrounding areas from dust and debris is equally crucial. Utilizing drop cloths, plastic sheeting, or protective films serves as a barrier against the inevitable by-products of sanding. This preventative measure ensures that dust particles and debris do not settle on adjacent surfaces, preventing potential damage or extra cleanup work later on.
Section 4: The Art of Sanding
This section will provide a step-by-step guide to sanding your floors effectively, covering everything from initial surface preparation to the final sanding stages. Understanding the different grits of sandpaper and their respective purposes is essential for achieving a smooth and even surface. Additionally, we’ll address common sanding issues and provide troubleshooting techniques to help you navigate through potential challenges during the sanding process.
This comprehensive section aims to offer an in-depth, step-by-step guide to ensure the effective sanding of your floors. By encompassing every aspect, from initial surface preparation to the final stages of sanding, we aim to equip you with the knowledge and skills needed for a successful floor renovation project.
To embark on this transformative journey, it’s crucial to delve into the intricacies of different grits of sandpaper and understand their distinct purposes. Each grit plays a vital role in the overall process, contributing to the attainment of a smooth and even surface. This nuanced understanding will empower you to make informed decisions at every stage of the sanding process, ensuring optimal results for your floors.
Exploring the world of sandpaper grits opens up a realm of possibilities for achieving the desired finish. Starting with coarser grits for initial surface leveling and gradually progressing to finer grits for a polished appearance, this nuanced approach guarantees a professional and aesthetically pleasing outcome.
Moreover, this section will not only guide you through the technical aspects of floor sanding but will also address common issues that may arise during the process. Understanding potential challenges and having the tools to troubleshoot them is crucial for a seamless experience. Whether it’s dealing with uneven surfaces, addressing stubborn stains, or navigating through unexpected hurdles, our troubleshooting techniques will empower you to overcome obstacles and achieve the best possible results.
Section 5: Achieving Perfect Polished Floors
Once the sanding phase is complete, it’s time to transition to the polishing stage. This section will introduce you to various polishing techniques and products, guiding you through the process of achieving an even application and a glossy finish. We’ll also share aftercare instructions to help you maintain the polished floors and preserve their beauty for years to come.
Embarking on the polishing journey, it’s essential to understand the nuances of each technique and the optimal scenarios for their application. Whether you opt for traditional wax polishing, advanced polyurethane coatings, or cutting-edge epoxy finishes, we’re here to demystify the choices and empower you with the knowledge needed to make informed decisions.
For achieving an even application, we’ll delve into the intricacies of proper tool selection and the significance of adopting consistent and controlled movements. Understanding the behavior of different polishing products, such as their drying times and compatibility with various surfaces, will be instrumental in ensuring a flawless outcome.
The journey doesn’t end with the application; hence, we will also provide valuable insights into post-polishing care. After all, maintaining the polished allure of your floors is equally important as achieving it. Our aftercare instructions will cover essential aspects such as routine cleaning practices, preventative measures against potential damage, and periodic maintenance routines. These insights will not only preserve the immediate beauty of your floors but also contribute to their longevity, allowing you to relish the fruits of your labor for years to come.
Conclusion
Armed with the knowledge and techniques outlined in this guide, you’re well-equipped to tackle your professional floor sanding and polishing Melbourne projects with confidence. Remember, practice makes perfect, so don’t hesitate to start small and gradually work your way up to larger areas. With dedication and attention to detail, you can turn your floors into stunning masterpieces that elevate the aesthetic appeal of your living space.