


Summary/Introduction:
Are you grappling with the decision of whether to convert MBOX to Outlook PST manually or opt for a more direct approach? This post aims to guide you through both methods, offering insights into the process of converting MBOX to PST format.
Understanding MBOX and PST Files:
MBOX files are a common email format used by various email clients, such as Thunderbird, Apple Mail, Entourage, SeaMonkey, Netscape, Gmail, and more. These files store email messages and attachments locally on the system where the email client is utilized.
In contrast, PST files are created in Windows Outlook and serve as repositories for various mailbox items, including emails, contacts, calendar entries, tasks, etc.
When conversion from MBOX to PST, email and attachments are transferred to Outlook PST. However, for items like contacts and calendars, a separate export and import process is necessary.
Methods to Convert MBOX to PST:
Before embarking on the MBOX file’s journey to Outlook, it’s crucial to comprehend both methods thoroughly. The manual method involves three steps, requiring a robust internet connection, an MBOX-based email client, and a Gmail account. However, this method has limitations, such as a 15 GB cap on mailbox size for Gmail.
On the other hand, the automated solution eliminates the need for an email client installation.
Method 1: Manual Export of MBOX to PST for Outlook
Don’t dismiss the manual method outright due to its complexities. Familiarize yourself with the process, as it can be rewarding once you successfully convert a few emails. Remember to create a backup before proceeding with the manual method for added security.
Part 1: Gmail Configuration
- Activate the IMAP protocol in Gmail settings.
- Set up two-step verification and create a new password for the app.
- Copy the generated code.
Part 2: MBOX Email Client Configuration
- Set up an account with Gmail using IMAP and the new app password.
- Create a new folder and move all emails into it.
Part 3: Outlook Configuration
- Generate a new app password.
- Access Microsoft Outlook, click on File, and select Add Account.
- Choose manual setup, fill in the details, and use the new app password for Gmail.
- Follow these steps for Outlook 2019, 2016, and earlier versions.
Pros and Cons of the Manual Method:
- Conversion is limited to one mailbox at a time.
- Requires a constant internet connection.
- Dependent on specific email client installations.
- Damaged data cannot be exported.
- Folder structure can become disorganized.
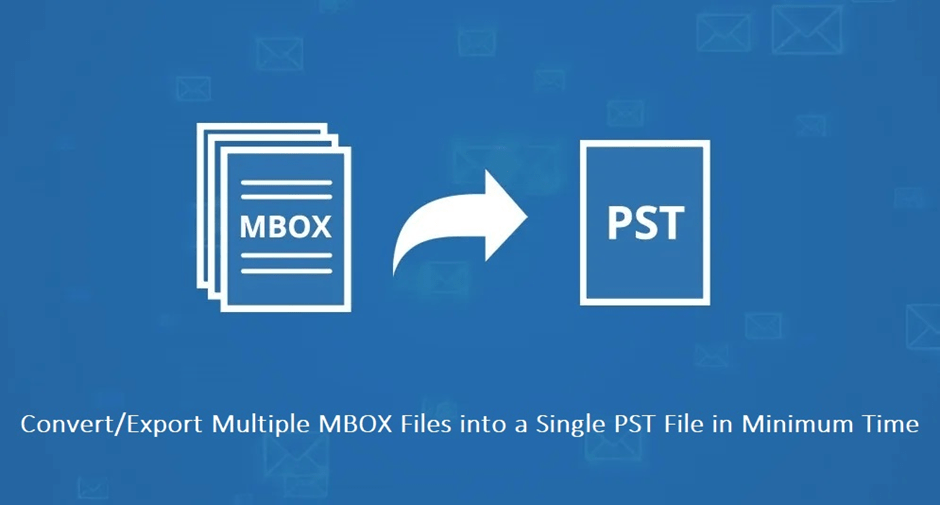
Method 2: Direct and Automated MBOX to PST Conversion
For a quicker result or if you’re short on time, the automated solution is a viable alternative. The Mailvita MBOX to PST Converter Tool for Mac & Windows is recommended for its simplicity and efficiency.
Steps for Automated MBOX to PST Conversion:
- Download, install, and run the MBOX to Outlook PST Converter tool.
- Click on the “Add File” button to load the MBOX file.
- After loading data, click on “Export” to convert mailboxes in bulk.
- Select PST, choose a single or separate PST conversion, set the destination, and click “Export.”
Pros and Cons of the Automated Method:
- Supports all MBOX-based email clients.
- Allows exporting single, multiple, and large mailboxes.
- Maintains the initial folder hierarchy in the new PST file.
- Provides date and email filter options.
- Exclusive to Windows systems.
- Offers an email preview before exporting to Outlook.
Last Thoughts,
This guide has presented both methods in straightforward terms, empowering you to convert MBOX files to PST. Opt for the manual method if you’re comfortable with the process, or choose the automated solution for a user-friendly experience. The Mailvita MBOX to Outlook PST Converter for Mac even comes with a free version, allowing you to migrate the first few emails from each folder at no cost.

As the editor of the blog, She curate insightful content that sparks curiosity and fosters learning. With a passion for storytelling and a keen eye for detail, she strive to bring diverse perspectives and engaging narratives to readers, ensuring every piece informs, inspires, and enriches.


