


Pendants are waiting to be created into unique statements; they are more than just magical accessories. A pendant necklace elevates any outfit with an element of style and uniqueness, turning a basic outfit into something very remarkable. While there’s nothing wrong with shopping for a stunning silver pendant online or perusing the enormous assortment of pendants for women at stores like Mizoya, making your own pendant is a cost-effective and meaningful way to express your individual style.
Finding Inspiration for Your DIY Pendant
The world is filled with imagination and natural beauty when it comes to DIY pendant inspiration! Take a look at your favorite jewelry stores and online retailers like Mizoya and notice the trends in silver pendants for women and ideal office accessories. Possibly the delicate beauty of designs inspired by nature draws you in or for original ideas, look through fashion magazines, Pinterest boards, or even visit museums.
Selecting Your Perfect Materials
It’s time to gather materials once you have a general idea of the look you want to achieve. These are a few common designs for homemade DIY pendants:
- Metal: You can effortlessly cut and form thin sheets of brass, copper, or silver into lovely pendants for women
- Clay: The polymer material clay comes in a variety of colors that can be molded into numerous shapes before preparation.
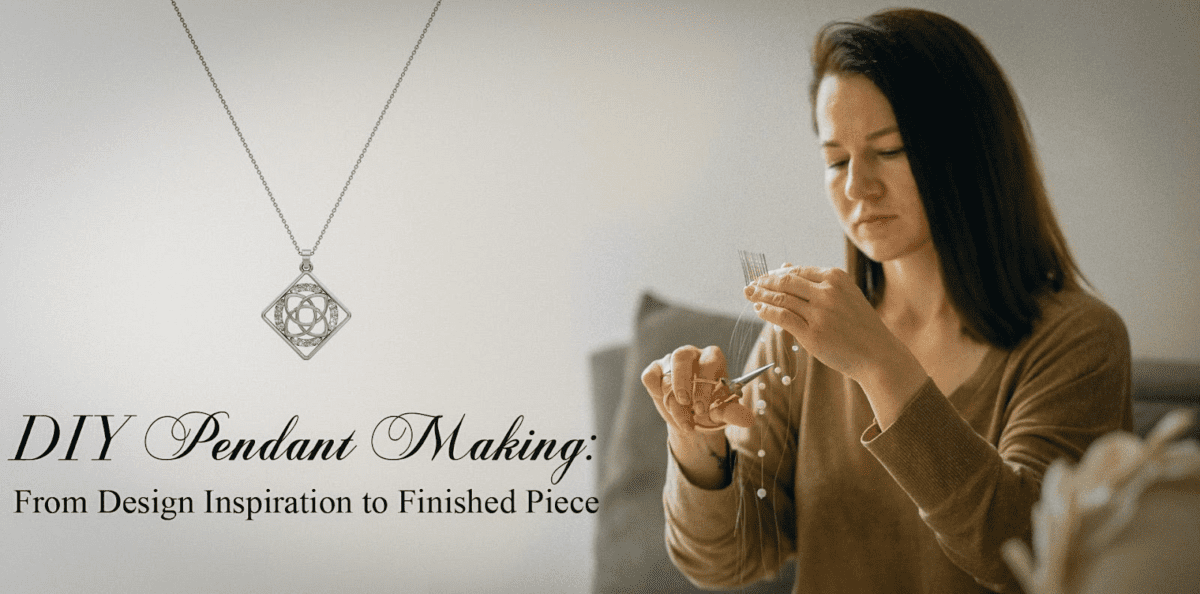
- Beads: You can use glass, wood, or semi-precious stone beads to string them together or use them to create clay or metal designs.
- Natural Materials: You can carefully preserve dried flowers, feathers, or tiny seashells to use them in a pendant design.
Essential Equipment for Do-It-Yourself Pendant Creation
Your chosen materials will determine which specific tools you need, but for most projects, the following general supplies can be useful:
- Shears for jewelry or scissors
- Pliers for jewelry
- Jump rings (to fasten the pendant to the chain of a necklace)
- For making holes in some materials, use an awl or a drill.
- Adhesive (used to attach decorations)
- Sandpaper is used to smooth uneven edges.
Making Your Own Pendant
Now that you have your materials and inspiration together, let your creativity run wild! Depending on the materials and design you’ve chosen, there are numerous tutorials and online resources available to help you through the creation process.
Here are few basics steps to keep in mind for DIY Pendant Making
- Draw your design: It’s an excellent concept to sketch your pendant design on paper before you get started. This enables you to polish your concepts and make sure each element will function as a whole.
- Break or shape your base: Make the pendant’s base out of the material of your choice.
- Add Decorations: Once you have your basic shape, add decorations to make your pendant then feature your pendant with gemstones, pearls or beads.
- Final remarks: Drill a hole for the jump ring, smooth out any sharp edges, and affix any last decorations.
From Inspiration to a Complete Masterwork
You can use something you’ve made to express your personality when you make your own pendant necklace. The finished item can be a treasured addition to your jewelry collection or a kind present for a friend. It’s an enjoyable and fulfilling process.
Even though Mizoya has a large selection of pendants, hoops, and studs, creating your own original piece has a certain satisfaction. So let your creative side come out, gather your supplies, and begin creating your own pendants!

As the editor of the blog, She curate insightful content that sparks curiosity and fosters learning. With a passion for storytelling and a keen eye for detail, she strive to bring diverse perspectives and engaging narratives to readers, ensuring every piece informs, inspires, and enriches.


