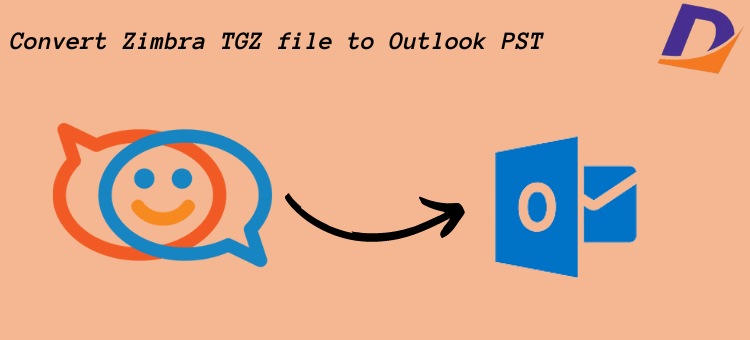
Summary: A common task that many users run into is efficiently converting Zimbra mail to a PST layout without using Outlook. We’ll learn every expert method and handbook to help ensure a smooth transfer of your Zimbra data in this comprehensive guide. This newsletter covers all the options, whether you choose manual management or the advantages of an automated approach.
By Hand
In the guiding technique, Zimbra mail is exported to an intermediate format and then imported into packages that are compatible with PST. Although this method necessitates close attention to detail, the user is directly involved in the conversion process. On the other hand, it might take a while and require technical knowledge.
Zimbra Mail export:
- Get into your email accounts on Zimbra.
- Choose whatever folders or emails you want to export.
- To make an adequate backup of your emails, use Zimbra’s export or backup tool.
- Conserve Zimbra Information in a Third-Party Format: Export data from Zimbra to a format that works well with many email clients, such as TGZ or Zip.
- Data import into a compatible email client:
- Select an email client (such as Thunderbird) that is compatible with the exported format.
- Transfer the Zimbra data to this temporary email address.
Convert to PST-Compatible Format: If required, utilize the intermediary email buyer to convert the data into a format that is compatible with PST. This step could also include exporting the data in an MBOX or other suitable format.
Employ the Import Wizard for Outlook:
- On your smartphone, launch Microsoft Outlook.
- Click “File” and select “Import and Export.”
- Select Import from File or Program: “Import from some other application or report” is the option you have selected; click “Next.”
- Choose a File Type: Select the record type (such as MBOX or another layout) that matches the format you exported from the intermediate patron.
- Find the file by: Look through and choose the report containing your Zimbra records:
- Select the import place: In Outlook, choose the area where Zimbra data should be imported. You can choose to make a new folder or import it into the one that already exists.
- Finish the import procedure: Complete the import system by following the on-display instructions. Your Zimbra data will begin to be uploaded by Outlook to the designated area.
- Examine the Imported Data: Verify that all of your contacts, emails, and other data from Zimbra have been successfully imported into Outlook when the import is finished.
Why do people pick the expert approach?
The expert technique’s effectiveness and simplicity of use led many customers to pick it. Because the guide approach can be complicated and time-consuming, customers can search for a more dependable possibility. The professional method simplifies the conversion and gives a user-high-quality interface with decreased chances of mistakes.
Expert Approach: DataVare TGZ to Outlook PST Conversion
The expert method consists of exporting one or more TGZ emails to MS Outlook PST layout using expert software known as DataVare TGZ to Outlook PST Converter Software. It removes the complexity of manual degrees and affords a clean-to-use interface for a more seamless and environmentally friendly changeover. This method is particularly beneficial for those who value accuracy and simplicity.
Benefits of Exporting TGZ Files to MS Outlook Automatically
In addition to hurry, dependability, and the potential to address large quantities of statistics conveniently, the automated method has many other benefits. Because it reduces the opportunity for authentic loss, it is a suitable choice for women seeking a hassle-free encounter. Furthermore, this technique frequently calls for little technological information.
Phases of the Expert Approach
- Install the selected software application on your computer after downloading it.
- To start the conversion, open the set-up software program.
- Choose the Zimbra files or folders you wish to transform to PST by locating them.
- Select PST due to the popular output layout for the conversion in the software program interface.
- Additional conversion approach parameters can be available in a few packages. Set up any vital configurations, along with folder form, date variety, or other alternatives.
- Clicking “Start” or “Convert” will begin the conversion process. The application will start pulling statistics out of Zimbra and reworking them right into a PST format.
- The conversion can also take some time, depending on how huge your Zimbra statistics are. Use the software interface to keep an eye fixed on the developments.
- The application will ask you to store the ensuing PST report while the conversion is finished. Select a phase of your laptop to view the record that has been transformed.
Last Thoughts
Ultimately, the user’s choices and requirements will determine whether to use the expert way or manual processes. This tutorial aims to walk you through a successful Zimbra to PST conversion, regardless of your preference for hands-on management or efficiency. Choosing a method that fits your specific requirements and ensures a smooth migration of your priceless Zimbra statistics is crucial, regardless of the path you choose.